
carloscastilla - Fotolia
Create an AKS cluster with this Ansible and Kubernetes tutorial
IT admins familiar with Ansible can use the configuration management tool, alongside Azure Cloud Shell, to spin up a Kubernetes cluster in AKS.
Ansible is a YAML-based configuration management platform and infrastructure provisioning tool. In both cloud-based and on-premises environments, Ansible can automate otherwise tedious processes -- such as the installation of MySQL across 20 separate machines. And the tool can deliver similar benefits for Kubernetes deployments.
Use this Ansible and Kubernetes tutorial to explore, in a hands-on way, how the two technologies work together. Specifically, create an Azure Kubernetes Service (AKS) cluster with an Ansible playbook in the Azure Cloud Shell.
Prerequisites
To follow along with this tutorial, you will need:
- An Azure account -- if you don't have one, opt for the 30-day free trial;
- A beginner- to intermediate-level knowledge of Kubernetes; and
- A beginner-level knowledge of Ansible.
Use Azure Cloud Shell
Rather than download a text editor, Azure users can write code in the cloud with Azure Cloud Shell. Cloud Shell is a built-in command-line interface (CLI) that has Ansible preinstalled and ready to use. It also comes with built-in Visual Studio Code (VS Code), a text editor from Microsoft.
Access Cloud Shell
Open up a web browser and go to the Azure portal.

On the window's right side is an icon that looks like a terminal (first-time users of Cloud Shell will be prompted to create a storage account, which saves all the data, including Ansible code). Click that icon to access Cloud Shell.

This should lead to a screen that looks as follows.
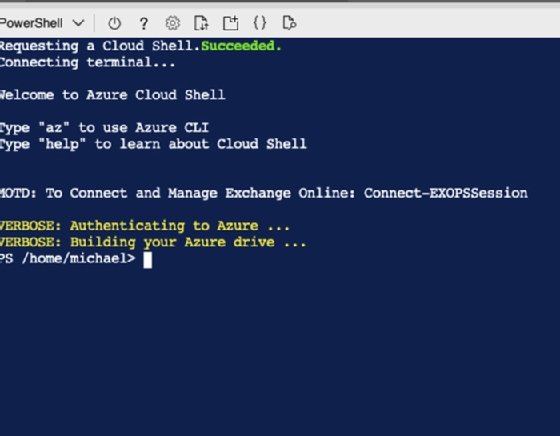
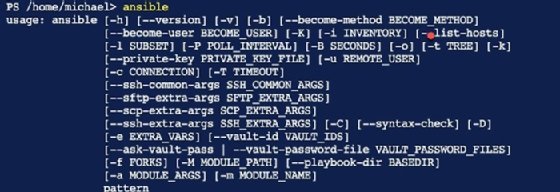
The PowerShell terminal has Ansible installed by default. Type ansible at the PowerShell terminal to see available Ansible options.
Access VS Code from Cloud Shell
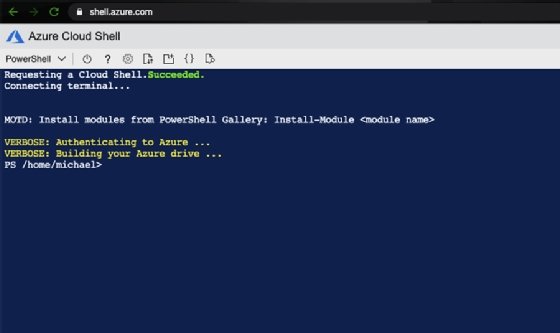
While in the web browser, open a new tab and go to the Cloud Shell Portal. This portal is separate from the Azure portal, as it provides an entire screen on which to use Cloud Shell.
In the PowerShell terminal, type in code . to open VS Code from Cloud Shell.
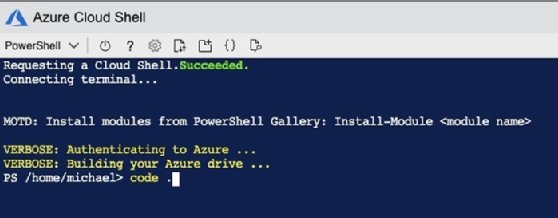
VS Code will open from Cloud Shell, granting access to a text editor to start writing Ansible code.
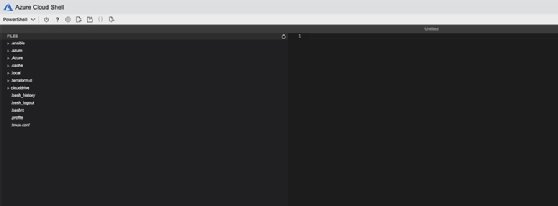
Write Ansible code for Kubernetes
In this section, we begin to write the Ansible code that creates a Kubernetes cluster.
Before we actually run any of this code, let's break down some of its key components:
- Hosts. In Ansible, hosts are target machines on which to install or configure software. Because we run code to create an Azure service, which is run in Azure, the hosts flag will be localhost.
- Connection. Because the code is being run in Cloud Shell, the connection is local to the environment, which is Azure.
- Name. A metadata label of the Ansible code.
- azure_rm_aks. This is the module, or API, that is used in Ansible to interact with Azure resources. Below are all of the necessary configurations to create an AKS cluster successfully via Ansible. Some key configurations include:
- linux_profile. The profile is the user or SSH key to access AKS nodes. The nodes run Linux. We can use any public SSH key, as long as we have the private key for authentication.
- service_principal. The service principal is app registrations-created credentials in Azure.
- agent_pool_profiles. Profiles are the size and count of the AKS cluster. For example, in the code below, we have a D2 VM size and two node counts.
In VS Code, add the following code to the untitled file. This code will create an AKS cluster using Ansible. (Note: From a security perspective, do not put the client_secret in plain text. This Ansible and Kubernetes tutorial only does so for dev and testing purposes. In all other cases, use secrets within Ansible Vault.)
---
- hosts: localhost
  connection: local
  tasks:
  - name: Create an AKS cluster
    azure_rm_aks:
      name: techtarget01
      location: eastus
      resource_group: Dev2
      dns_prefix: techtargetclus
      kubernetes_version: 1.15.10
      linux_profile:
        admin_username: azureaks
        ssh_key: your_ssh_key
      service_principal:
        client_id: "your_client_id"
        client_secret: "your_client_secret"
      agent_pool_profiles:
        - name: default
          count: 2
          vm_size: Standard_D2_v2
      tags:
         Environment: Dev
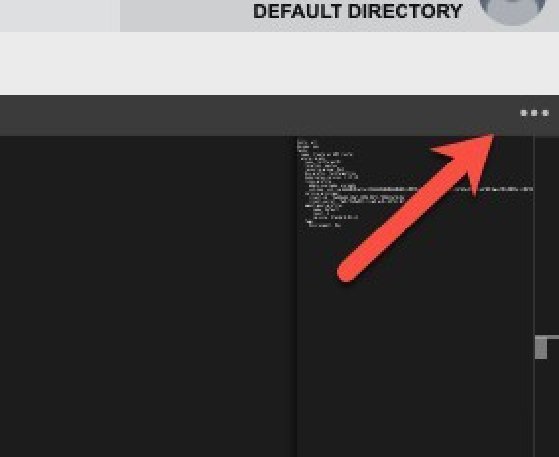
To save the code, click the three dots on the top right of the shell.
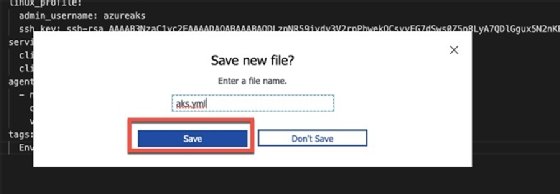
Click the Save button to be prompted for the file name. In the Save a new file? section, enter a file name. The file name in this tutorial is aks.yml, but the file name isn't mandatory, only the .yml extension. After typing in a name, click the blue Save button.
Run the Ansible code
In the previous section, we created an Ansible playbook to build an AKS cluster. The playbook contains information that configures not only the name and size of the cluster, but authentication methods and Kubernetes versions.
In this section, we run the playbook to create the AKS cluster.
Execute the playbook
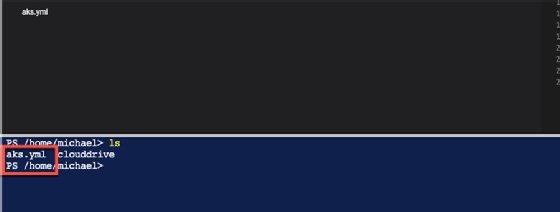
While still in the shell, notice the aks.yml configuration saved under the root directory.
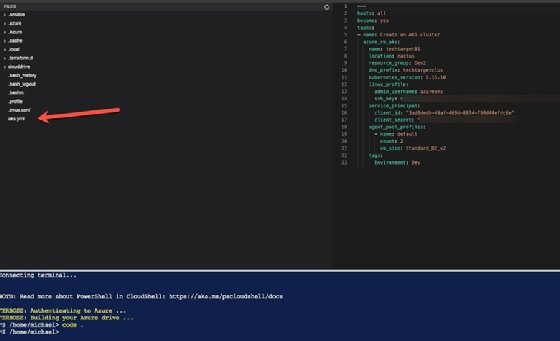
To confirm that aks.yml is saved under the root directory, run ls to list the directory files.
To run an Ansible playbook, use the ansible-playbook command. Run the following code in the PowerShell terminal to start creating the AKS cluster:
ansible-playbook playbook_name.yml
You should see an output similar to below, which means the code is running.

After the creation is successful, you will see an output similar to the screenshot below.

Return to the Azure portal and go to the AKS service portal. To conclude this Ansible and Kubernetes tutorial, we should see an AKS cluster, as shown below.


